> For the complete documentation index, see [llms.txt](https://karedi.gitbook.io/karedi/llms.txt). Markdown versions of documentation pages are available by appending `.md` to page URLs; this page is available as [Markdown](https://karedi.gitbook.io/karedi/creating-songs-for-beginners/finishing-touches/medley.md).
# Medley
### In this lesson you will learn
* what medley is,
* how to set medley boundaries in single-player songs,
* how to set medley boundaries in multi-track songs.
### Before you start
This lesson requires songfiles that we have worked on in this tutorial. If you don't have them, you can download the necessary files here:
{% file src="/files/pyCMxQo3MzTew1MMzBQa" %}
## Setting medley boundaries
### Theory
#### What is a medley?
Medley is a mode in which instead of singing the whole song in Ultrastar, you will sing a predefined part of it, e.g. the chorus. You can also combine parts from multiple songs to create an actual medley.
#### Which part of the song is played in medley mode?
The creator of the song defines which part should be singable in medley mode.
The game also playbacks some part of the song before the medley part, but any notes that appear in that time are treated as freestyle notes.
#### How long the medley part should be?
It's up to you. Just do not make it last too long - a minute may be too much. Remember that this song is supposed to just be a part of the medley that will consist of several songs.
### Setting medley boundaries in a single-player song
As creators we should define medley boundaries to give players the possibility to create medleys.
Let's open the single-player version of the song:
Karedi warns us that we have not set the medley boundaries yet. Let's say that we would like the fourth chorus (the one after rap part) to be used for medleys.
Let's select the first note that should be included:
Since medley beginning and end is not a part of the vocal track transcription but an example of metadata, the values will be stored as tags. Go to menu *Tags -> Medley -> Set Start*.
Now the warning has changed into an error about invalid medley beat range. It's understandable - we have just defined the beginning, we still need to define the end. Let's go to the last note that we want to include:
And choose *Tags -> Medley -> Set End* from the menu.
As you can see, the background changed for the range of notes that we have chosen - blue background color marks the part that will be used for medleys.
This way we have resolved the last problem with our song :tada:
### Setting medley boundaries in multi-player song
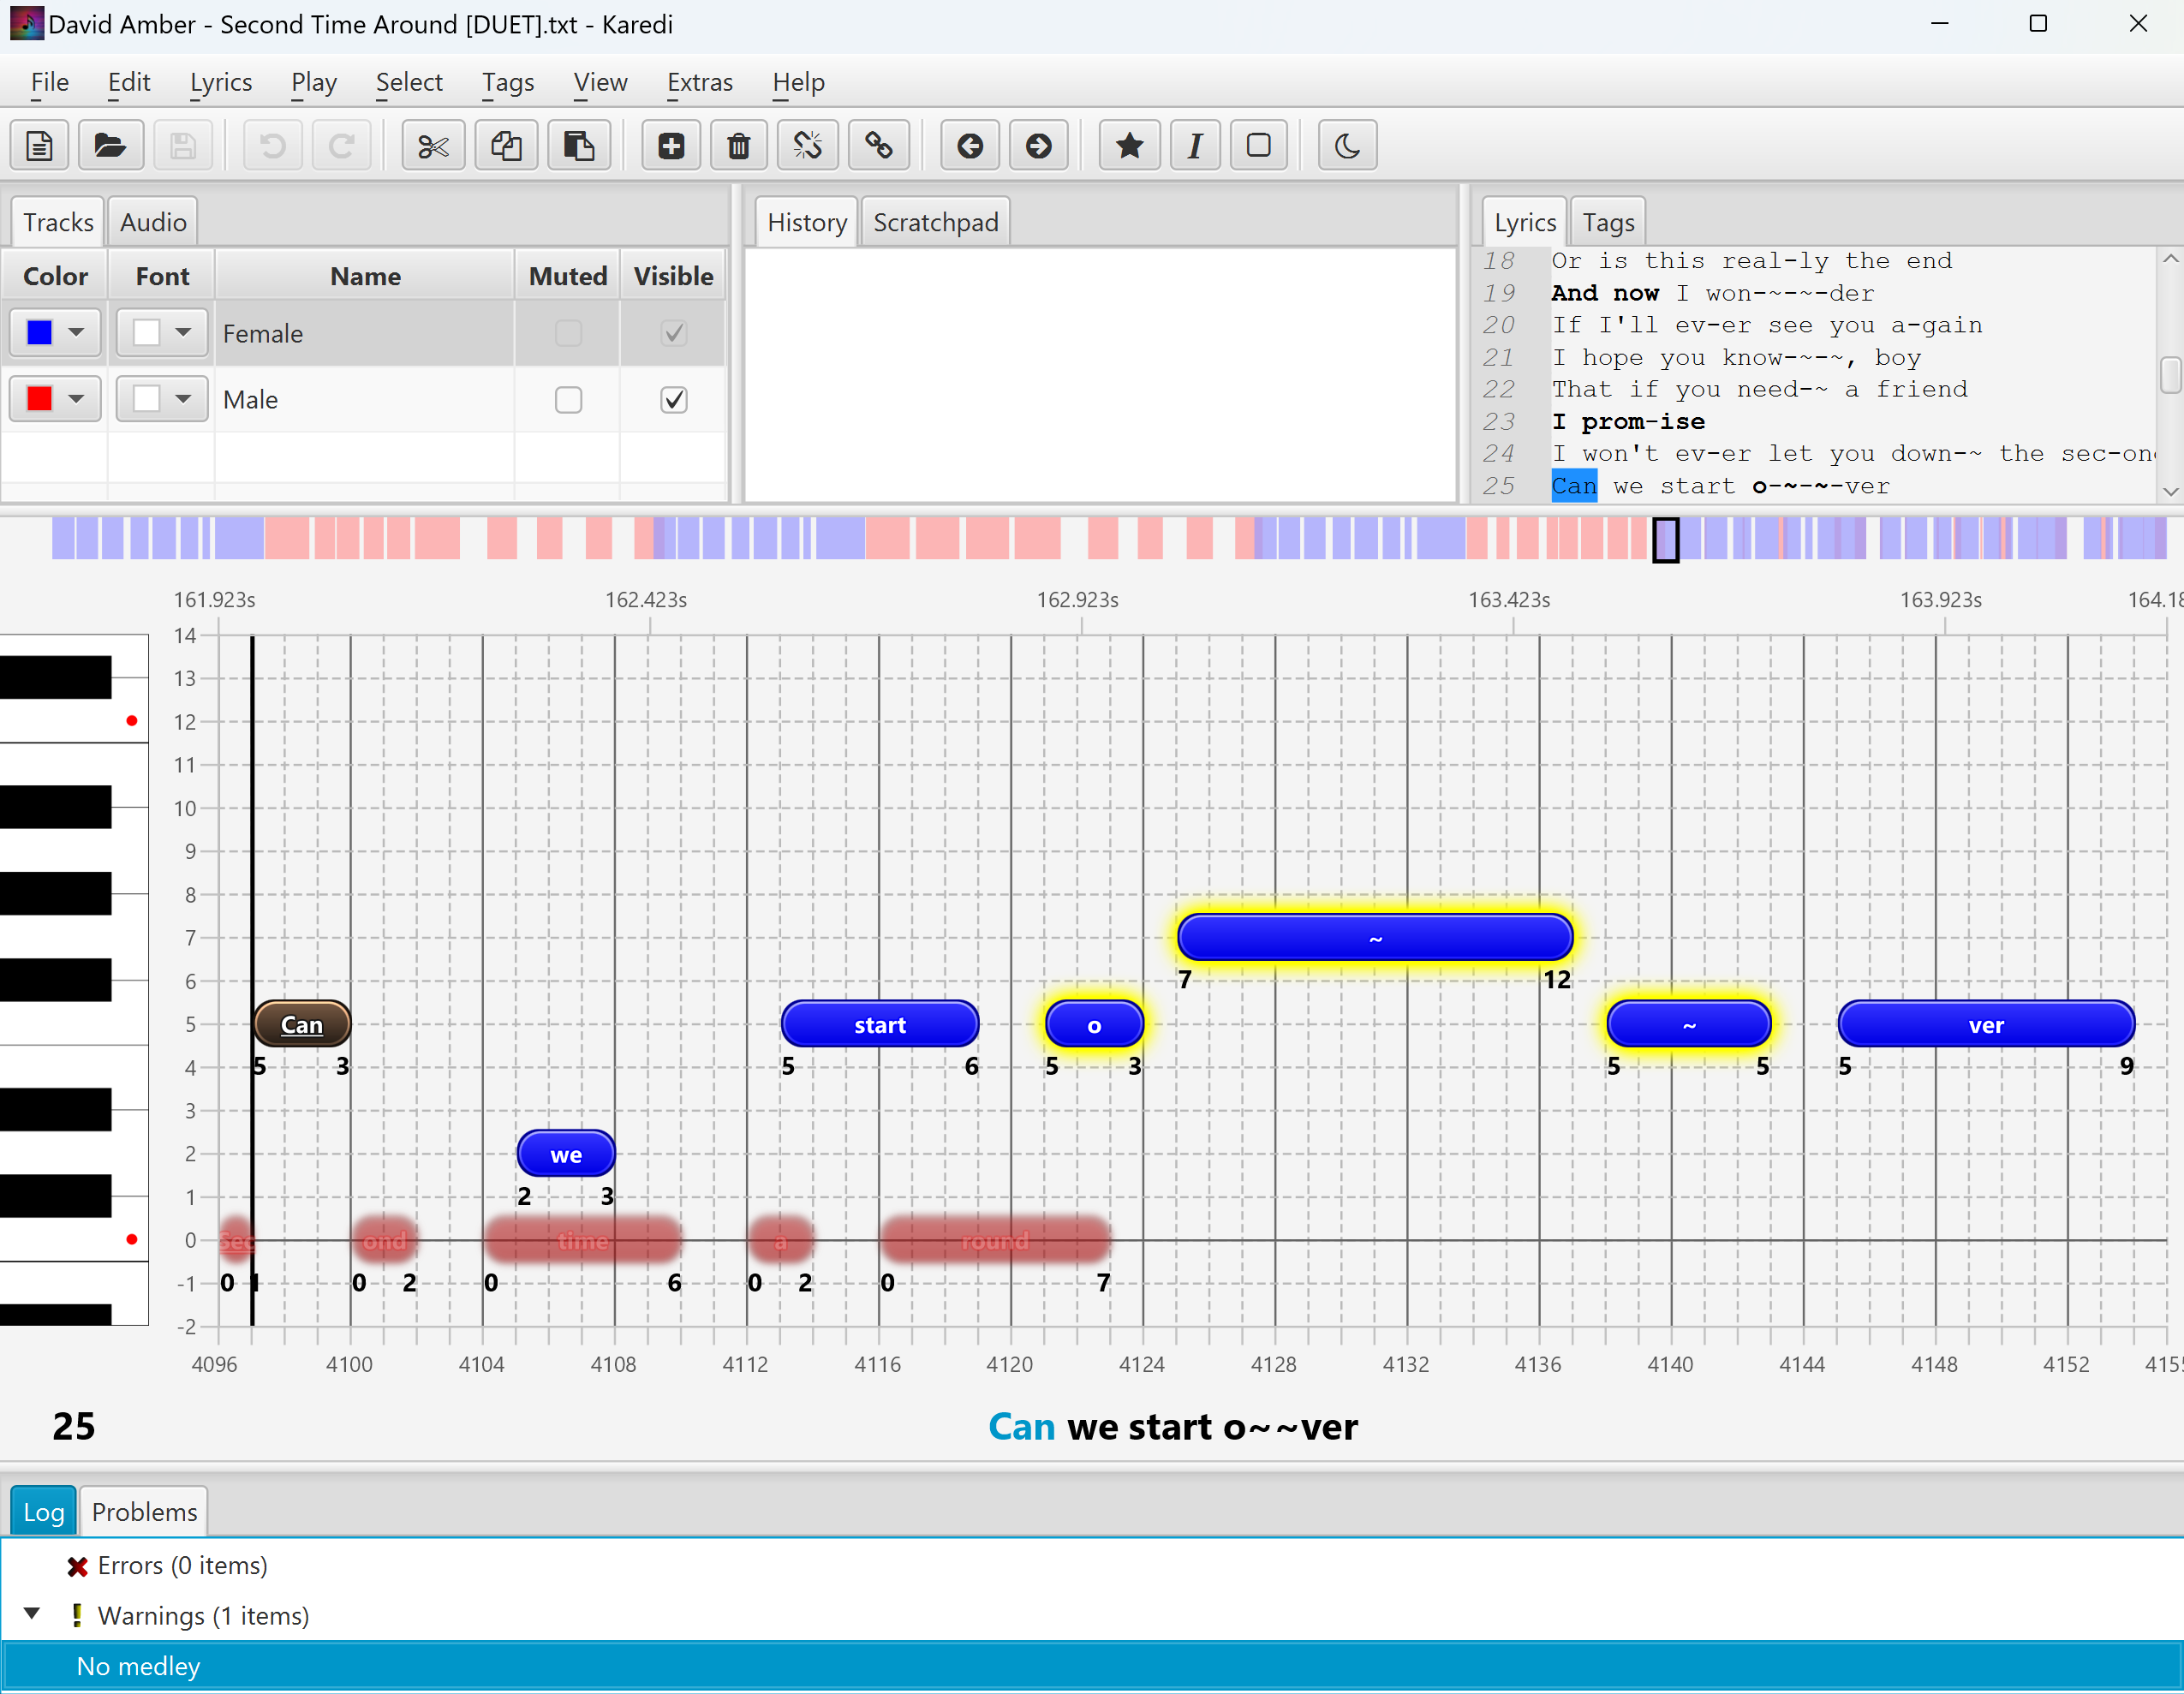
Do not forget that we also have a duet version of the song which is also warning us about lack of medley boundaries definition:
#### Choosing the notes for medley in duet songs
Well, the theory is the same. Just try to choose a part of the song that will have something to sing for both players, preferably at the same time. You also have to look at both tracks when choosing the first and the last note.
#### Setting the first note
Previously we started from the *"Can"* note. As you can see in the picture above, red player starts his line a bit earlier so we need to choose a note from red track's for medley start. Let's switch the tracks:
Use the exact same method as in single-player song to mark *"Sec"* note as medley part beginning - select it and go to menu *Tags -> Medley -> Set start.*
#### Setting the last note
Go to the end of the chorus. This is how it looks on the red track:
Let's see how the last included line from blue track looks like. You can expand the visible are to display also red notes:
As you can see both blue and red notes end at the same time, so you can select any of them and use it to set medley end.
### Review the medley
#### Visually
To make sure check the start and end beat of the medley and make sure that no note or line is cut in half:

#### By ear
You can also listen to the medley to make sure you included the part that you wanted. Go to menu *Play -> Medley -> Audio Only* (or any other mode).
In this case our medley part is almost the same in single-player song and duet version (just one beat difference in start). However, you can choose completely different parts for each version if you want to.
Now we are truly done with the txt files! :tada:
## Shortcuts summary:
In this lessons we have not learned any new shortcuts.
## What's next
We have finished work on the txt file. In the next lesson we will prepare other files like cover or background.
## To learn more refer to:
{% content-ref url="/pages/ZCM4ytfayzHklRZWTXqT" %}
[Setting medley boundaries](/karedi/next-level/editing-tags/setting-medley-boundaries.md)
{% endcontent-ref %}